Here’s a quick and dirty look at how to install a two node Active/Passive SQL 2008 cluster on Windows Server 2008.
Environment: Two servers (nodes) running Windows 2008 R2 Enterprise Edition and SQL Server 2008 R2 Enterprise named TSTPSSQLCL03 and TSTPSSQLCL04. I’m creating a named instance named TSTECSSQLv01\ECS. The Systems Administrator has already set up the Cluster Name (TSTPSSQLCLv03), storage, and given me the following IP address to configure my named instance: 10.101.1.69.
Step 1: On the first node (TSTPSSQLCL03) insert installation media and proceed to the SQL Server Installation Center, Installation, click on New SQL failover cluster installation.
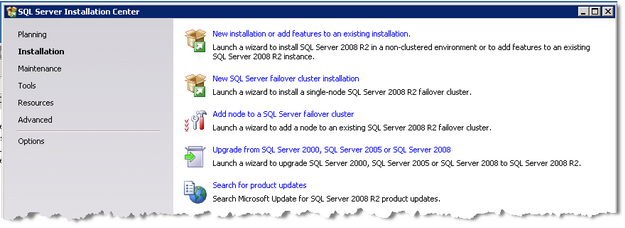 Step 2: A Setup Support Rules check will run to identify problems that might occur when you install SQL Server Support Rules. Click OK.
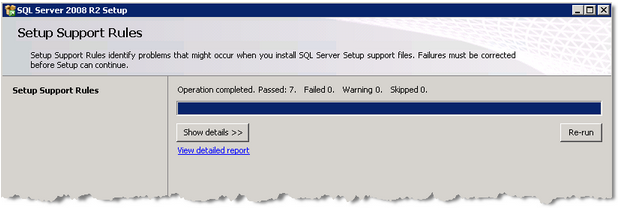 Step 3: Install Setup Support Rules.
 Step 4: Once Setup Support Files install successfully, click Next.
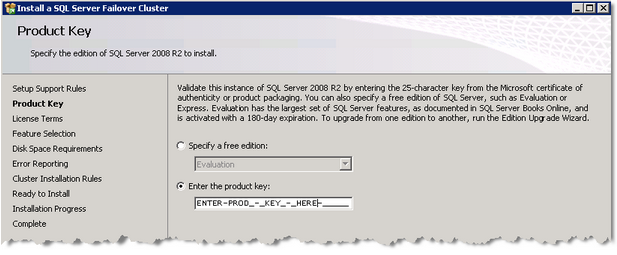
 Step 5: Enter Product Key and click Next.
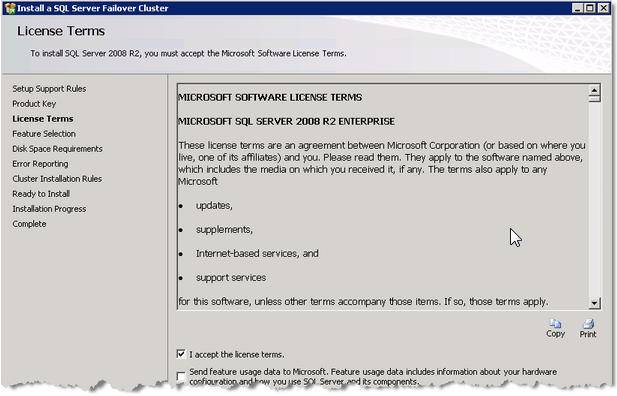
 Step 6: Accept the license terms and click Next.
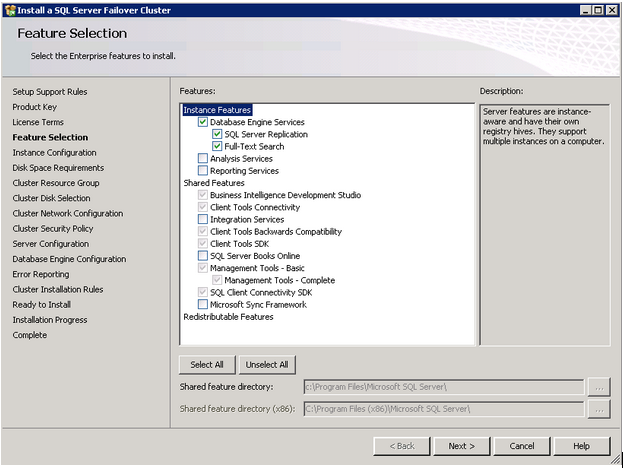
 Step 7: On the Features Selection page, select the features to cluster and click Next.
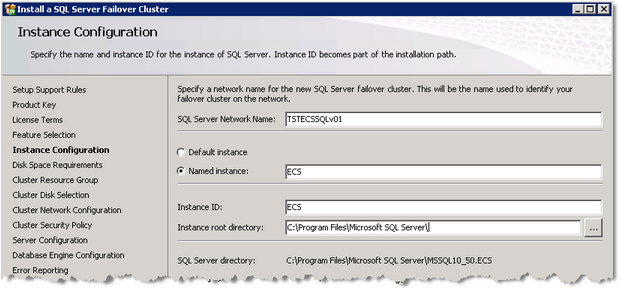
 Step 8: On the Instance Configuration page, specify a SQL Server Network Name and choose whether this installation is a default instance or named instance. You can also change the Instance root directory. Click Next.
 Step 9: View Disk Space Requirements and click Next.
 Step 10: Choose a Cluster Resource Group and click Next.
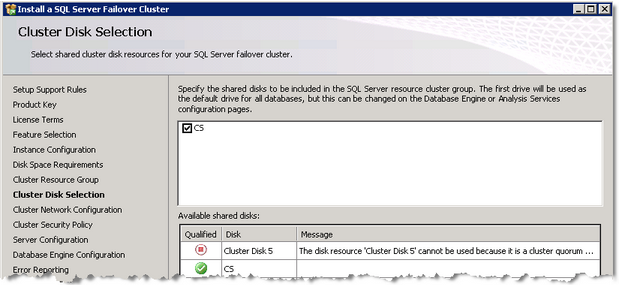
 Step 11: Choose a Cluster Disk Selection and click Next. (This should’ve been setup by the System Administrator).
 Step 12: On the Cluster Network Configuration page, it’s better to remove DHCP and specify a static IP address. (The System Administrator should be able to give you the IP address) Once specified, click Next.
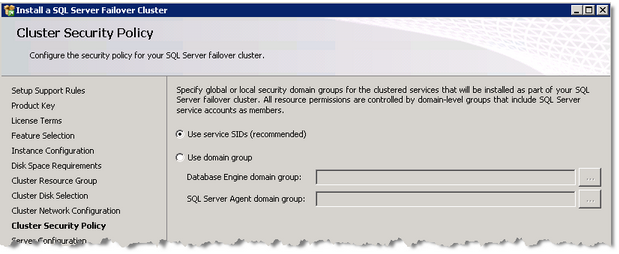
 Step 13: Choose a Cluster Security Policy and click Next.
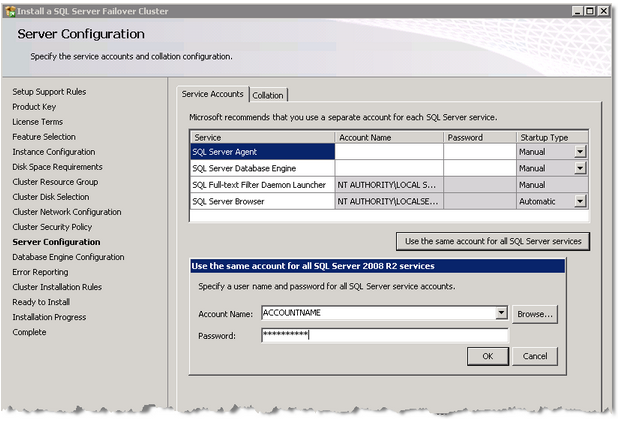
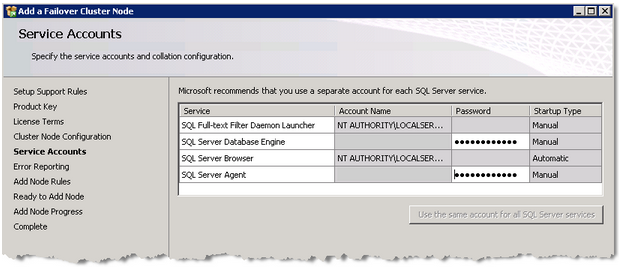
 Step 14: Enter service accounts and password for the DB Engine and SQL Agent. You can also use the “Use the same accounts for all SQL Services” button if you want to specify the same account for both services. Click Next.
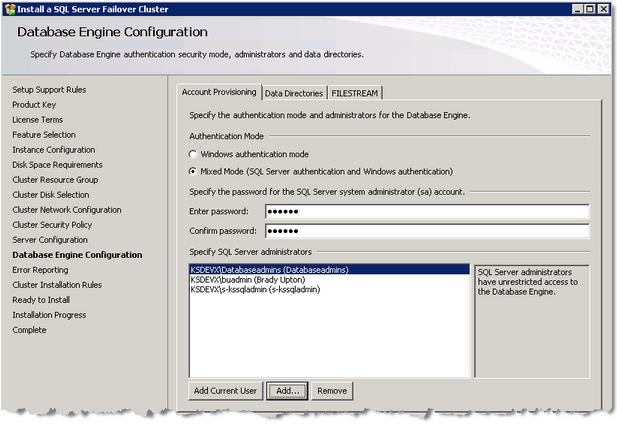
 Step 15: On the Database Engine Configuration page, select Mixed Mode and enter a secure ‘sa’ password. Under Specify SQL Server administrators, enter all users that will need sysadmin permissions. Click the Data Directories tab.
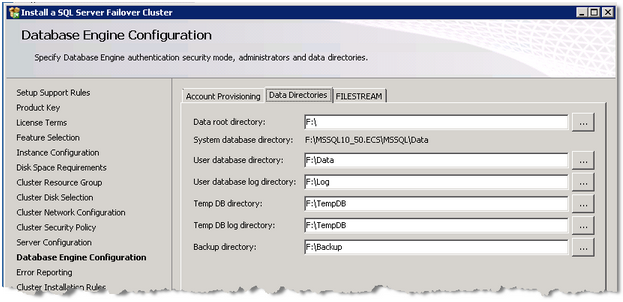
 Step 16: Under the Data Directories tab, change the directories to the following and click Next:
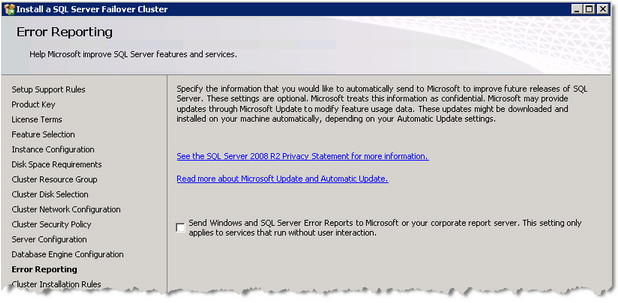
 Step 17: View Error Reporting Options and click Next.
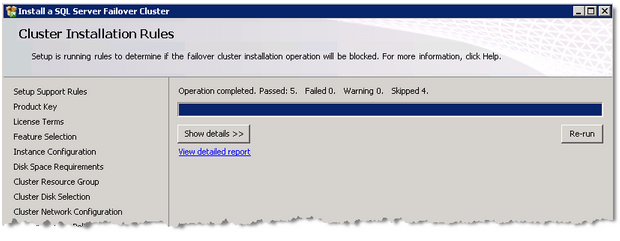
 Step 18: A Cluster Installation Rules check will run to determine if the failover cluster installation will be blocked. Once successful, click Next.
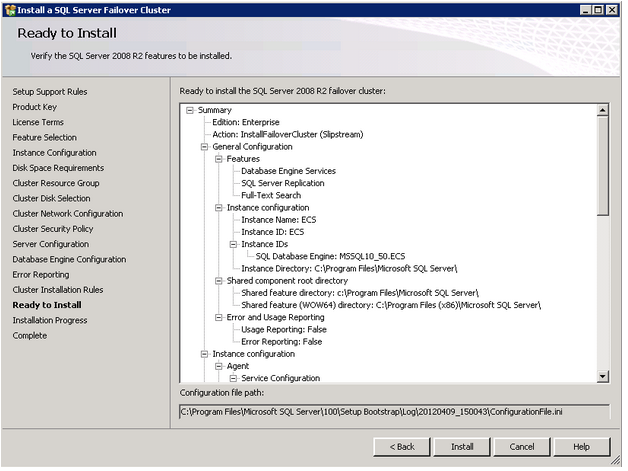
 Step 19: Look over the “Summary” page to make sure everything looks ok and click Install.
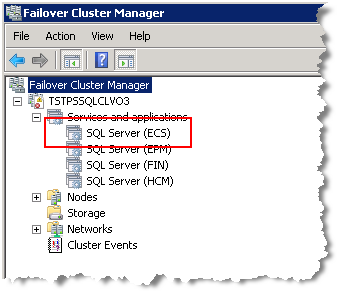
 Step 20: Once the install is complete, click Close. To verify an instance has been created, open Failover Cluster Manager (Administrative Tools) and drilldown under Cluster name.
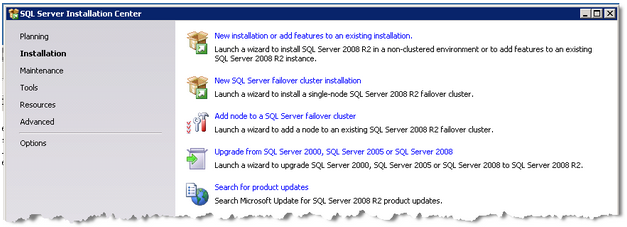
 Step 21: Halfway there. On the second node (TSTPSSQLCL04) insert installation media and proceed to the SQL Server Installation Center, Installation, click on Add node to a SQL Server failover cluster.
 Step 22: A Setup Support Rules check will run to identify problems that might occur when you install SQL Server Support Rules. Click OK.
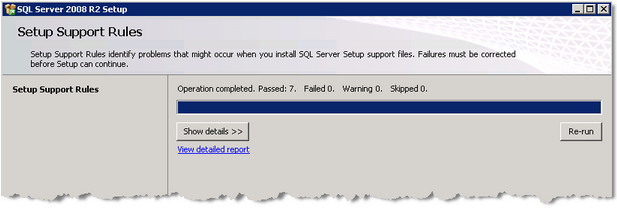 Step 23: Install Setup Support Rules.
 Step 24: Once Setup Support Files install successfully, click Next.
 Step 25: Enter Product Key and click Next.
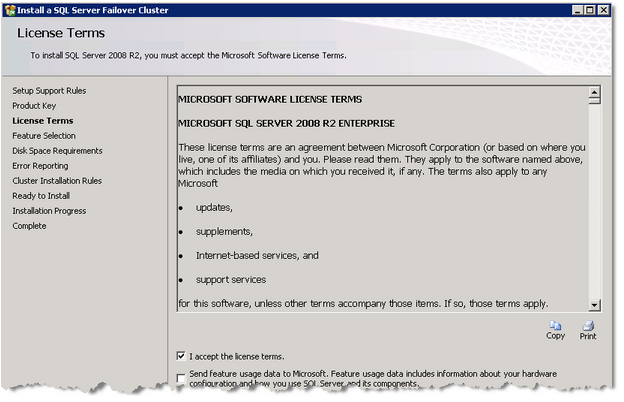
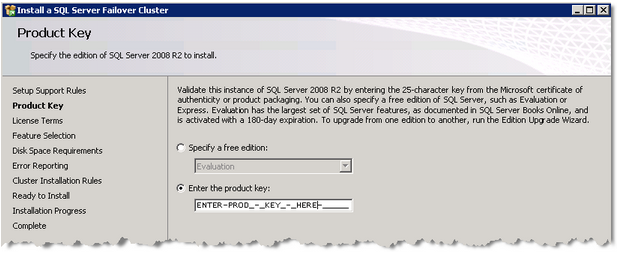 Step 26: Accept the license terms and click Next.
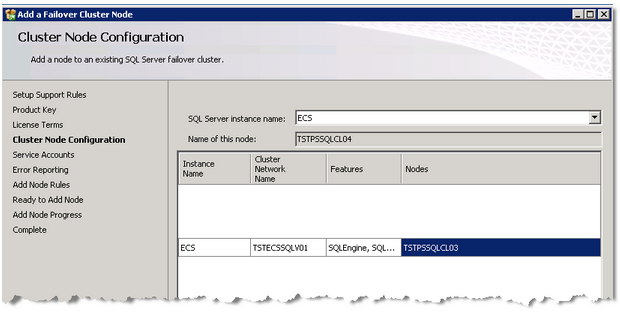
 Step 27: Select SQL Server Instance name to add a node to. Click Next.
 Step 28: Specify Service Account passwords and click Next.
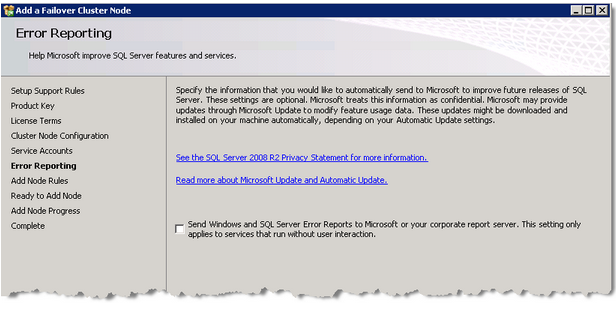
 Step 29: View Error Reporting Options and click Next.
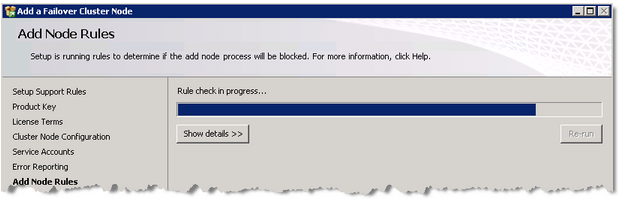
 Step 30: An Add Node Rules check will run to determine if the add node process will be blocked. Once successful, click Next.
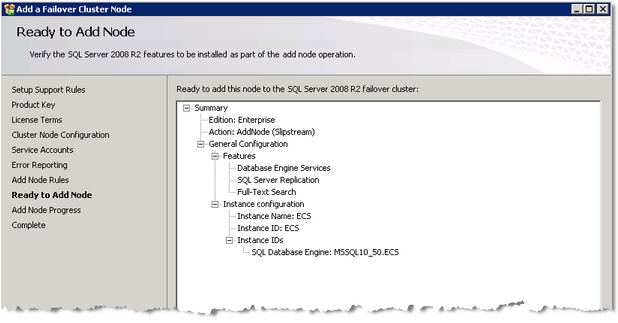
 Step 31: Look over the “Summary” page to make sure everything looks ok and click Install.
 Step 32: Once installation is complete, click Close. Repeat steps 21 – 31 for each node.
