How to create and use Temp tables in SSIS

Creating temp tables in SSIS seems like a straight-forward process using the Execute SQL Task, however there are a couple of properties that must be changed. In this post, we’ll walk through creating a simple temp table in SSIS.

Creating Sample SSIS Package

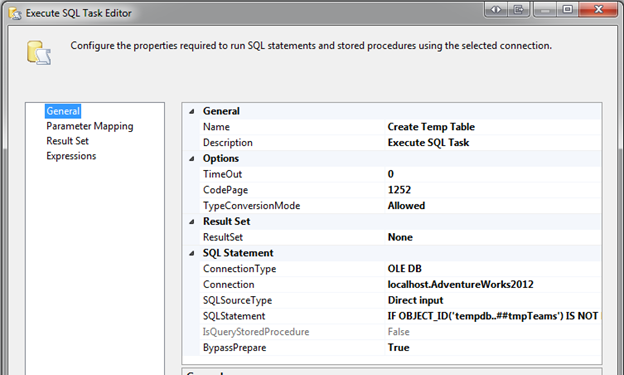
First, I will drag an Execute SQL Task into my Design view and rename it Create Temp Table:

SQL Freelancer SQL Server SSIS Temp Tables
Next, I will right click and edit and choose my connection and SQLStatement:

SQL Freelancer SQL Server SSIS Temp Tables

IF OBJECT_ID('tempdb..##tmpTeams') IS NOT NULL
    DROP TABLE ##tmpTeams
    CREATE TABLE ##tmpTeams
    (
        Team VARCHAR(255),
        Mascot VARCHAR(255),
  State VARCHAR (2)
    )
    INSERT INTO ##tmpTeams VALUES
       ('Auburn', 'Tigers', 'AL'),
       ('Alabama', 'Crimson Tide', 'AL'),
       ('Mississippi', 'Rebels', 'MS'),
       ('Louisiana State', 'Tigers', 'LA'),
       ('Mississippi State', 'Bulldogs', 'MS'),
 ('Arkansas', 'Razorbacks', 'AR'),
 ('Texas A&M', 'Aggies', 'TX'),
 ('Georgia', 'Bulldogs', 'GA'),
 ('Tennessee', 'Volunteers', 'TN'),
 ('Vanderbilt', 'Commodores', 'TN'),
 ('Florida', 'Gators', 'FL'),
 ('South Carolina', 'Gamecocks', 'SC'),
 ('Missouri', 'Tigers', 'MO')

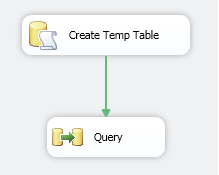
Next, I will drag a Data Flow task into my Design view, rename it Query and drag the precedence constraint between the two:
SQL Freelancer SQL Server SSIS Temp Tables
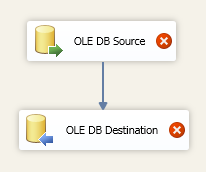
For the Data Flow task we are going to query the temp table and export the results to a database table. Right click the Data Flow task and choose Edit. Drag a OLE DB Source and a OLE DB Destination task into the Design view.

SQL Freelancer SQL Server SSIS Temp Tables

To avoid errors when configuring the OLE DB Source we need to create the temp table first using SSMS. In SSMS run the following statement to create a global temp table:

CREATE TABLE ##tmpTeams
    (
        Team VARCHAR(255),
        Mascot VARCHAR(255),
  State VARCHAR (2)
    )

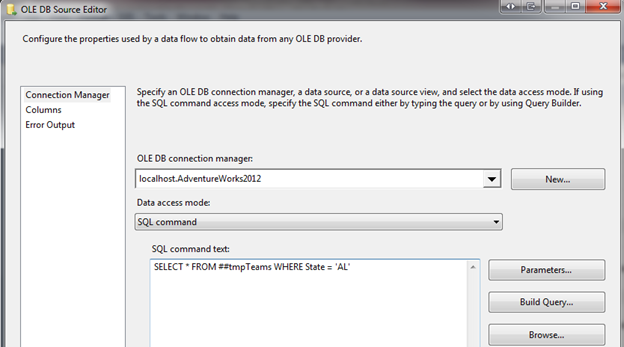
Once the table has been created, let’s go back into our SSIS package. Right click OLE DB Source and choose Edit. Choose your data source and choose SQL command for the Data access mode dropdown. In the SQL command text we will need to create our SQL statement:

SQL Freelancer SQL Server SSIS Temp Tables

Click here to view the rest of this post.

Using SSIS to Automatically Populate a SharePoint List

In my opinion, the best (and easiest) way to accomplish this goal is using SSIS packages and a component from Codeplex called Sharepoint List Source and Destination. Ray Barley wrote a tip regarding this component a while back and he explained how to extract data from Sharepoint. I encourage everyone to check out his tip as it explains how to install the component and has some very good tips regarding the Sharepoint Source task. In this post, we’ll go over the Destination task in more detail.

Setup a Sharepoint List

For this tip, I’m just going to set up a quick custom list. This example is done in Sharepoint 2007, but Sharepoint 2010 should be close to the same.

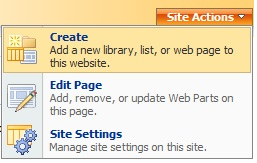
Go to Site Actions, Create:

SQL Freelancer SQL Server Sharepoint Populate List
Custom Lists, Custom List:

SQL Freelancer SQL Server Sharepoint Populate List
For this example, I’ll create a list called SQL Versions:
SQL Freelancer SQL Server Sharepoint Populate List
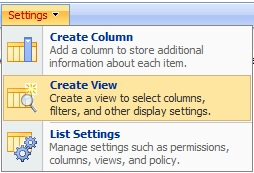
Once I have a list created, I need to create a view with custom columns that match my SQL query. For this example I need Server Name, Instance Name, and Build. To create a view click Settings, Create View:

SQL Freelancer SQL Server Sharepoint Populate List
Choose Standard View:

SQL Freelancer SQL Server Sharepoint Populate List
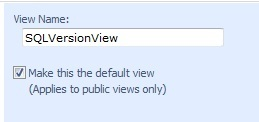
Name the View (for this example, I’ll name it SQLVersionView and make it my default view):
SQL Freelancer SQL Server Sharepoint Populate List
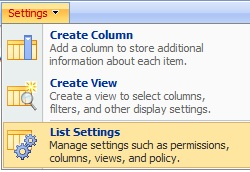
Next we’ll need to create custom columns. Go to Settings, List Settings:

SQL Freelancer SQL Server Sharepoint Populate List
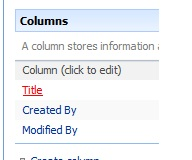
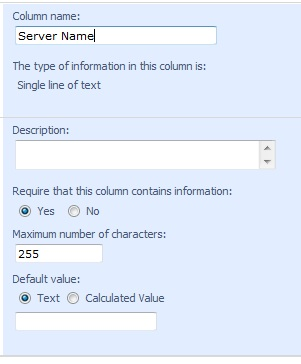
To create the first column click Title and rename it to Server Name:

SQL Freelancer SQL Server Sharepoint Populate ListSQL Freelancer SQL Server Sharepoint Populate List
Click here to view the rest of this post.