In this post, I’ll discuss some tasks that you can do to manage the transaction log. The transaction log is very important to SQL Server and there are books alone on how to manage the log so this will be an introduction post.
Where do I start? The transaction log is an integral part of SQL Server. Every database has a transaction log that is stored within the log file that is separate from the data file. A transaction log basically records all database modifications. When a user issues an INSERT, for example, it is logged in the transaction log. This enables the database to roll back or restore the transaction if a failure were to occur and prevents data corruption. For example, let’s say Sue is using an application and inserts 2000 rows of data. While SQL Server is processing this data let’s say someone pulls the plug on the server. (Again, this is just an example, I hope nobody would actually do this). Because the INSERT statement was writing to the transaction log and it knows a failure occurred it will roll back the statement. If this wasn’t put in place, could you imagine having to sift through the data to see how many rows it inserted and then change the code to insert the remaining rows? Or even better, what if the application inserted random columns in no order and you had to determine what data was inserted and what data was left out? This could take forever!
The transaction log supports the following:
ROLLBACK TRANSACTION – If a user or application issues the ROLLBACK statement, or if the DB engine detects a failure, the log records are used to roll back the transaction.
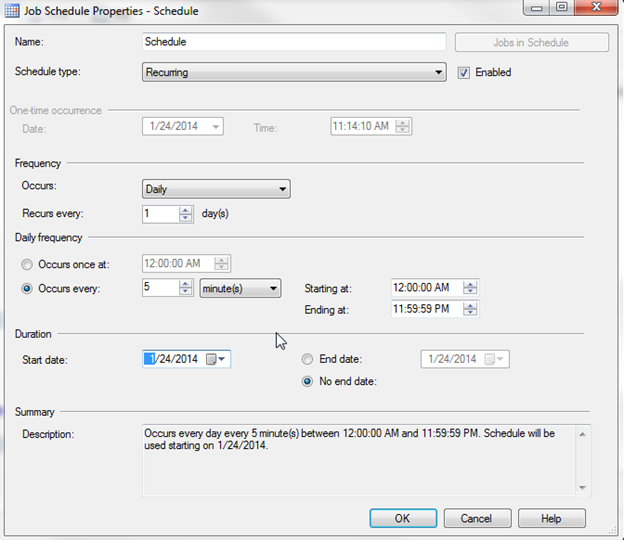
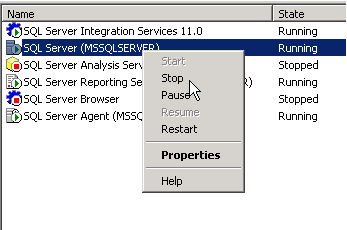
Recover Incomplete Transactions – If you have ever started SQL Server from a failure you may have noticed databases in the (In Recovery) mode:

This is an indication that SQL Server is rolling back transactions that did not complete before the SQL Server was restarted or it is rolling forward all modifications that were recorded in the log but not written to the data file.
Rolling a restored DB, file, filegroup, or page forward to the point of failure – If SQL Server were to fail and you need to restore the database back to the point in which the failure occurred you can as long as you are using the FULL recovery model. Start with a full backup, then apply the latest differential, and the subsequent transaction log backups up to the point of failure.
High availability solutions – Transactional replication, mirroring, and log shipping all use the transaction log.
Transaction Log Truncation
One thing that I see a lot of administrators ask about is transaction log size and how to truncate it. Log records that are not managed correctly will eventually fill up the disk causing no more modifications to the database. Transaction log growth can occur for a few different reasons. Long running transactions, incorrect recovery model configuration and lack of log backups can grow the log.
Log truncation frees up space in the log file so the transaction log can reuse it. Unless there is some kind of unexpected delay, log truncation will occur automatically after a checkpoint (if the database is in SIMPLE recovery model) or after a log backup (if the database is in FULL or BULK-LOGGED recovery model). MSSQLTips.com offers plenty of tips regarding transaction log truncation.
Recovery Models
I mentioned recovery models above so I’ll give a brief overview of each one…
Full – In the Full recovery model, log files should be backed up on a regular basis to prevent the disk from filling up the drive. Also, in the Full recovery model, you can restore a database to the point of failure depending on your log backup schedules. This is the default for the model database in SQL Server. If you leave this recovery model set to Full, make sure you schedule log backups.
Simple – In the Simple recovery model, transaction log backups cannot be used. This means that SQL Server will automatically reclaim disk space at certain intervals, which can be good, but it also means that if a failure were to occur you can only restore back to the last full backup since all transactions are lost in between. This is generally used in development environments.
Bulk Logged – In the Bulk Logged recovery model, certain large scale or bulk copy operations are minimally logged. I have never left a database in the Bulk Logged recovery model for a large amount of time. I usually will have a database in the Full recovery model and if I’m doing a bulk insert and don’t need to log the transactions, I’ll switch to Bulk Logged and then back to Full once this is complete. Bulk Logged, however, does support log backup and point in time recovery.
Backup the Log File
When using the Full or Bulk Logged recovery models it is recommended to backup the transaction log regularly. Remember, when the log is backed up, it will automatically truncate.
Before you backup the transaction log, you must have a full backup otherwise you will get an error:

You can perform a backup using SQL Server Management Studio (SSMS) or the following syntax:
BACKUP LOG [Demo]
TO DISK = N'D:\Backups\Demo.bak'
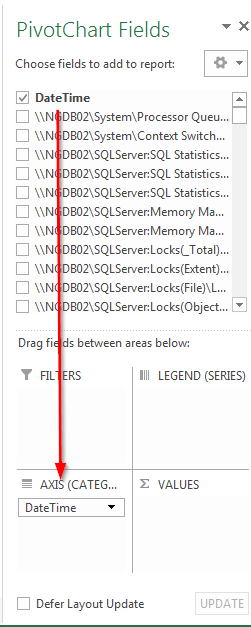
Monitoring the Log
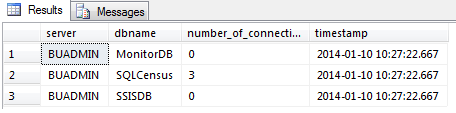
Monitoring the log file is very important and SQL Server has made it fairly easy for us to do this. One way to find information about the log is in the catalog view sys.database_files. This view returns information about data and log files that include type of file, name, location, state, size, growth, etc. The following query will filter down to only the log file and displays some very useful information:
SELECT name AS [File Name], physical_name AS [Physical Name], size/128.0 AS [Total Size in MB], size/128.0 - CAST(FILEPROPERTY(name, 'SpaceUsed') AS int)/128.0 AS [Available Space In MB], [growth], [file_id]
FROM sys.database_files
WHERE type_desc = 'LOG'
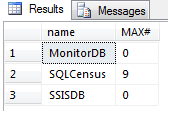
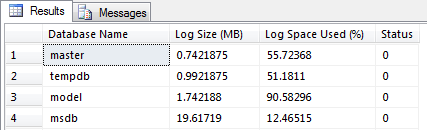
 You can also use DBCC SQLPERF (‘logspace’) which has been around for a while. This command displays useful details such as DB name, Log Size (MB) and Log Space Used (%):
Controlling the growth of the transaction log can help in performance issues. To change the growth increment, use the FILEGROWTH option. A value of 0 indicates that automatic growth is set to off and no additional space is permitted. A small autogrowth increment on a log file can reduce performance. The file growth increment on a log file should be sufficiently large to avoid frequent expansion. The default growth increment of 10 percent is generally suitable.
As you can see, the transaction log is used throughout SQL Server, and the information above will get you started managing the transaction log. There are multiple items that I did not cover in this tip that include:
- Modifying the log file
- Shrinking the log file
- Adding/Removing a log file
- How a log file is used in High Availability solutions
- How to restore to a point in time