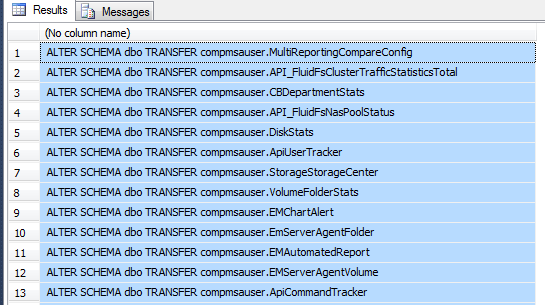
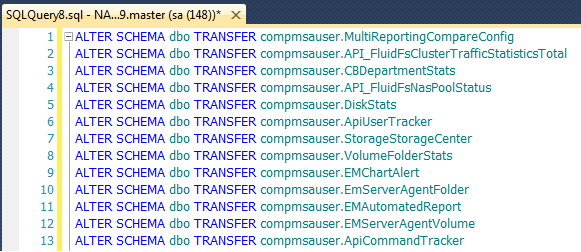
I’ve came across a lot of SQL Server’s in my career that were installed using the Enterprise Edition and never utilized the Enterprise features. Downgrading to a lower edition cannot be done in place. This tip will describe the steps needed to downgrade.
Create Database Backups
As always, before doing anything drastic (or non-drastic), BACKUP all the databases (system and user)! Also, if you have a development environment, please test on it first.
Check for Enterprise features
After backing up the databases run the following query on each database:
SELECT * FROM sys.dm_db_persisted_sku_features
This DMV will tell you whether or not the database is utilizing any of the Enterprise features.
Check Version and Build Number
Because you never know when an install may fail, check the version and build number of the current SQL Server. After the downgrade, you will need to bring the new SQL Server back to the patch level. You can view this information by executing the following command:

Save the results to a text editor.
Decision…
There are two different directions we can go from here.
- We can do the traditional uninstall Enterprise, install Standard, patch, restore databases
- Or we can do what I call “The Jonathan Kehayias” approach. (I saw this method awhile back from a forum post by Jonathan):
Copy System Databases
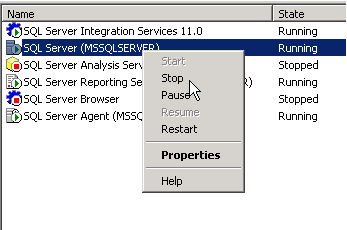
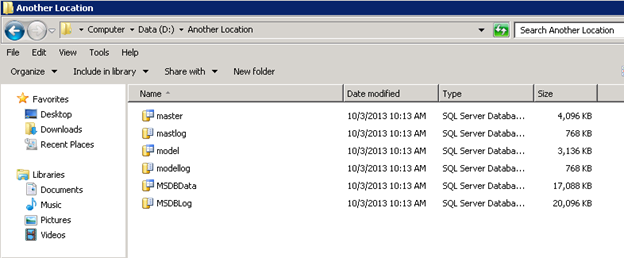
Shutdown the SQL Server service and copy the master, model and msdb database files (.mdf and .ldf) to another location. We will need these later:
Uninstall SQL Server
Uninstall SQL Server from Control Panel:
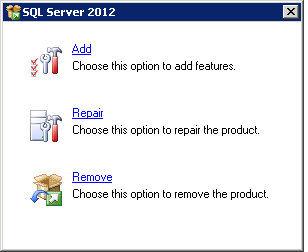
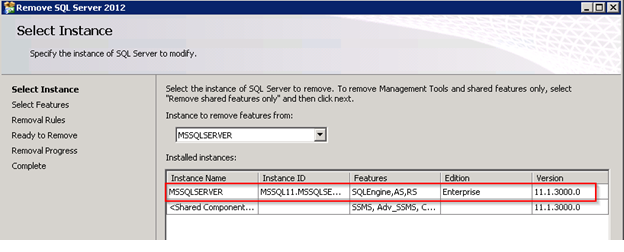
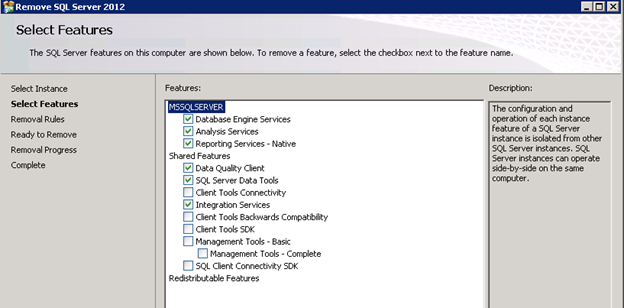
You only need to uninstall the Instance (includes SSIS, SSAS, SSRS, SSDT). There is no need to uninstall the Shared Components (SSMS, Client Tools, and Connectivity).
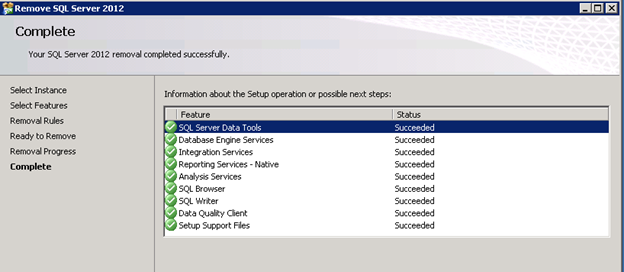
Reboot
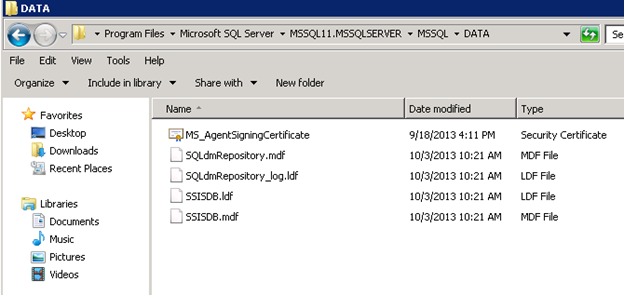
Reboot the server. After rebooting, browse to the location of the data files and you will notice that the user databases weren’t removed with the uninstall, but the system databases were. This is why we copied them in the step above:
Click here to view the rest of this post.
